How to fabricate branches - Assembling
22/06/09 20:40
Assembling-
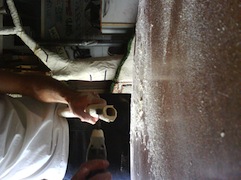
This is what the branch pieces looked like out of the mold. We made sure to cast a narrow tip so that we could have a completish branch.
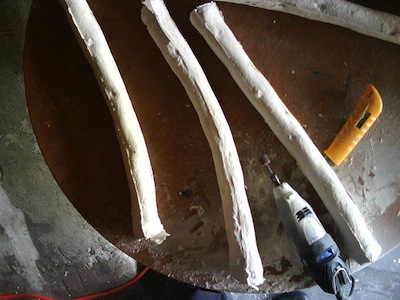
With a box cutter knife and a dremel, we’d wait for them to completely dry to clean up the seams. Could be done mostly with box cutter knife while the branch is still wet, but there is risk in cutting into your branch easier. Because of the reckless way I used the box cutter I made sure to wear a thick ass leather work glove on the hand that gripped the branch....
I’ve cut myself way too many times... or enough times to learn.

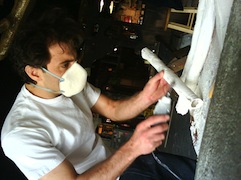

It is smart to wear a mask when grinding this shit with a dremel, the dust is intense.
Figuring where a branch will go, and what it will look like is priority.
Then dremeling the inside and outside ends of each piece so that they fit into each other, telescoping together. When you’re dremeling the inside of the branch, be sure to grind it down nice and thin so that it is easier to hide the seam.
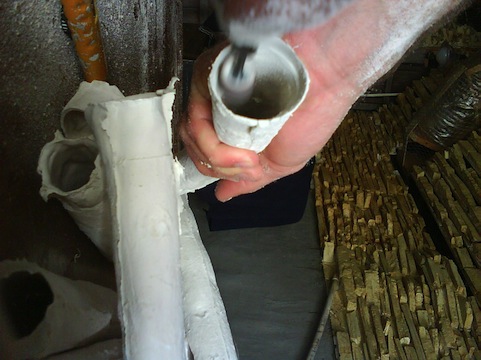
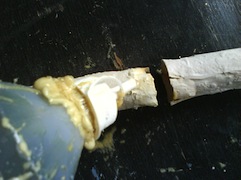
When glueing the branch pieces together, use a glue that does not have a solvent, so that it doesn’t deteriorate the flexible slip.
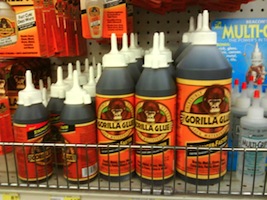
Gorilla glue doesn’t have a solvent in it. So that’s good.
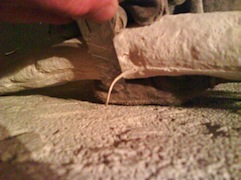
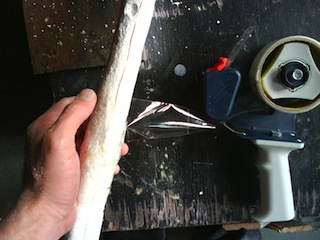
As you can see on this next pic that the seams ripped a little while trying to fit one piece into the other. This can be problematic later down the line. It’s good to reenforce splits with gorilla glue and coats of flexible slip.
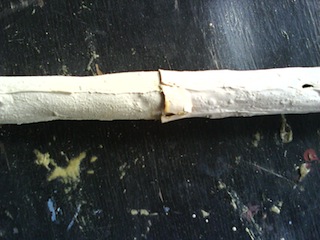
Using some sort of wide tape that’s not too strong, wrap the ends together, tightly.
Then you let the assembled pieces dry, allowing the glue to fully set for 24 hours.
Next: Assembling the Assembled!
This is what the branch pieces looked like out of the mold. We made sure to cast a narrow tip so that we could have a completish branch.
With a box cutter knife and a dremel, we’d wait for them to completely dry to clean up the seams. Could be done mostly with box cutter knife while the branch is still wet, but there is risk in cutting into your branch easier. Because of the reckless way I used the box cutter I made sure to wear a thick ass leather work glove on the hand that gripped the branch....
I’ve cut myself way too many times... or enough times to learn.
It is smart to wear a mask when grinding this shit with a dremel, the dust is intense.
Figuring where a branch will go, and what it will look like is priority.
Then dremeling the inside and outside ends of each piece so that they fit into each other, telescoping together. When you’re dremeling the inside of the branch, be sure to grind it down nice and thin so that it is easier to hide the seam.
When glueing the branch pieces together, use a glue that does not have a solvent, so that it doesn’t deteriorate the flexible slip.
Gorilla glue doesn’t have a solvent in it. So that’s good.
As you can see on this next pic that the seams ripped a little while trying to fit one piece into the other. This can be problematic later down the line. It’s good to reenforce splits with gorilla glue and coats of flexible slip.
Using some sort of wide tape that’s not too strong, wrap the ends together, tightly.
Then you let the assembled pieces dry, allowing the glue to fully set for 24 hours.
Next: Assembling the Assembled!
0 Comments